

What You’ll Achieve
By the end of this quicklaunch, you’ll have built a liquidity pool on Meteora by:- Configuring your liquidity pool settings
- Interacting with our DAMM v1 program
- Seeing your liquidity pool in action on Meteora
Prerequisites
- Node.js >= 22.12.0
- pnpm >= 10.0.0
Terminal
Steps
1
Clone and Setup Meteora Invent
Meteora Invent is a toolkit consisting of everything you need to invent innovative token launches on Meteora. Run the following command in your terminal to get started.Once you’ve cloned the repository, you’ll have a new project directory with a meteora-invent folder. Run the following to install pnpm and the project dependencies.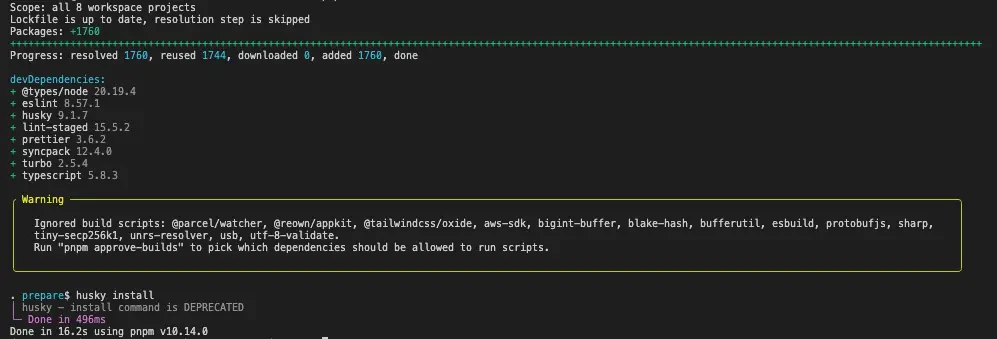
Terminal
Terminal
2
Optional: Start a Local Test Validator
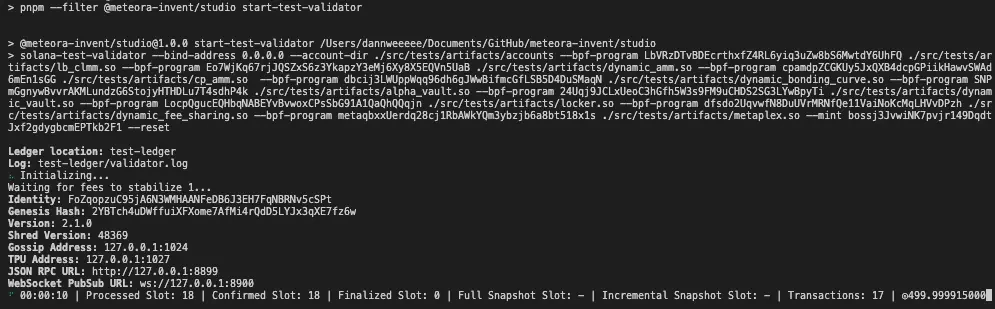
In Meteora Invent we provide an optional command for you to run a local validator to test your pool before deploying it to devnet or mainnet. Run the following command in your code editor terminal to get started.This will start a local validator on your machine which will be hosted on
Terminal
http://localhost:8899. 3
Setup Environment Variables
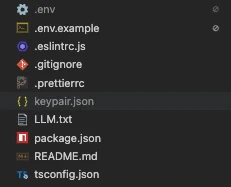
We provide an easy way to setup environment variables when getting started. Run the following command in your code editor terminal to get started.This will copy the example environment variables file to your This will generate a
Terminal
.env file. Configure the following variables:PRIVATE_KEY- Your private key for the wallet you will be using to deploy the pool.
Terminal
keypair.json file in the studio directory which will be used for all actions in this guide. 4
Configure your DAMM v1 Pool
Navigate to the
studio/config/damm_v1_config.jsonc file and configure your DAMM v1 pool settings. Set your DAMM v1 configuration
Set your DAMM v1 configuration
You can configure everything DAMM v1 pool related in this file.
The comments in the file are to help you understand the different settings you can configure. Please ensure that you read through the comments while configuring your pool.
damm_v1_config.jsonc
5
Create your DAMM v1 Pool
After configuring your DAMM v1 pool settings in
If you don’t have a base mint, you can configureIf you already have a base mint created, you can provide it via the CLI with a This will create your pool with liquidity deposited from your
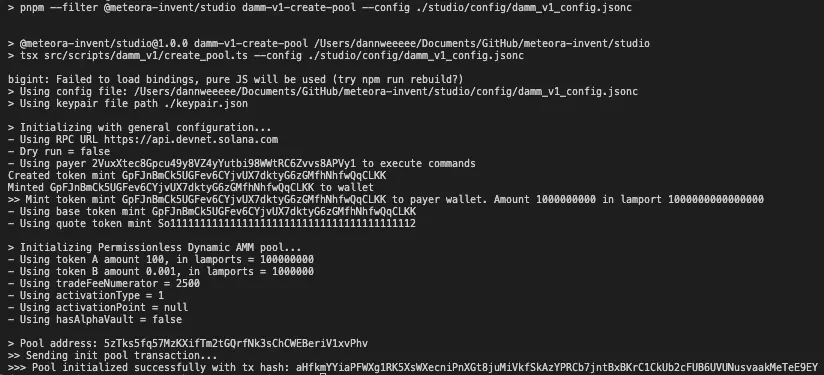
damm_v1_config.jsonc, you can now create your pool by running the following command. These commands will create your pool and If you don’t have a base mint, you can configure
createBaseToken in the config file and run the
following command.--baseMint flag
and run the following command.keypair.json and print the pool address and other relevant information to the console.