In this guide, Metsumi will walk you through the steps to create a launchpad platform for launching tokens with Meteora’s Dynamic Bonding Curve Program.Documentation Index
Fetch the complete documentation index at: https://docs.meteora.ag/llms.txt
Use this file to discover all available pages before exploring further.

Features
Integrated with Meteora DBC
Built-in integration for Meteora’s DBC program to create token pools with your DBC config key. You can configure your DBC config key on launch.meteora.ag and get started within minutes.
Advanced Token Analytics
Productin-grade search functionalities and real-time data from websocket APIs. Provide up-to-date information including token price, volume and holder count on your launchpad platform without worrying about the nitty-gritty details of indexing data.
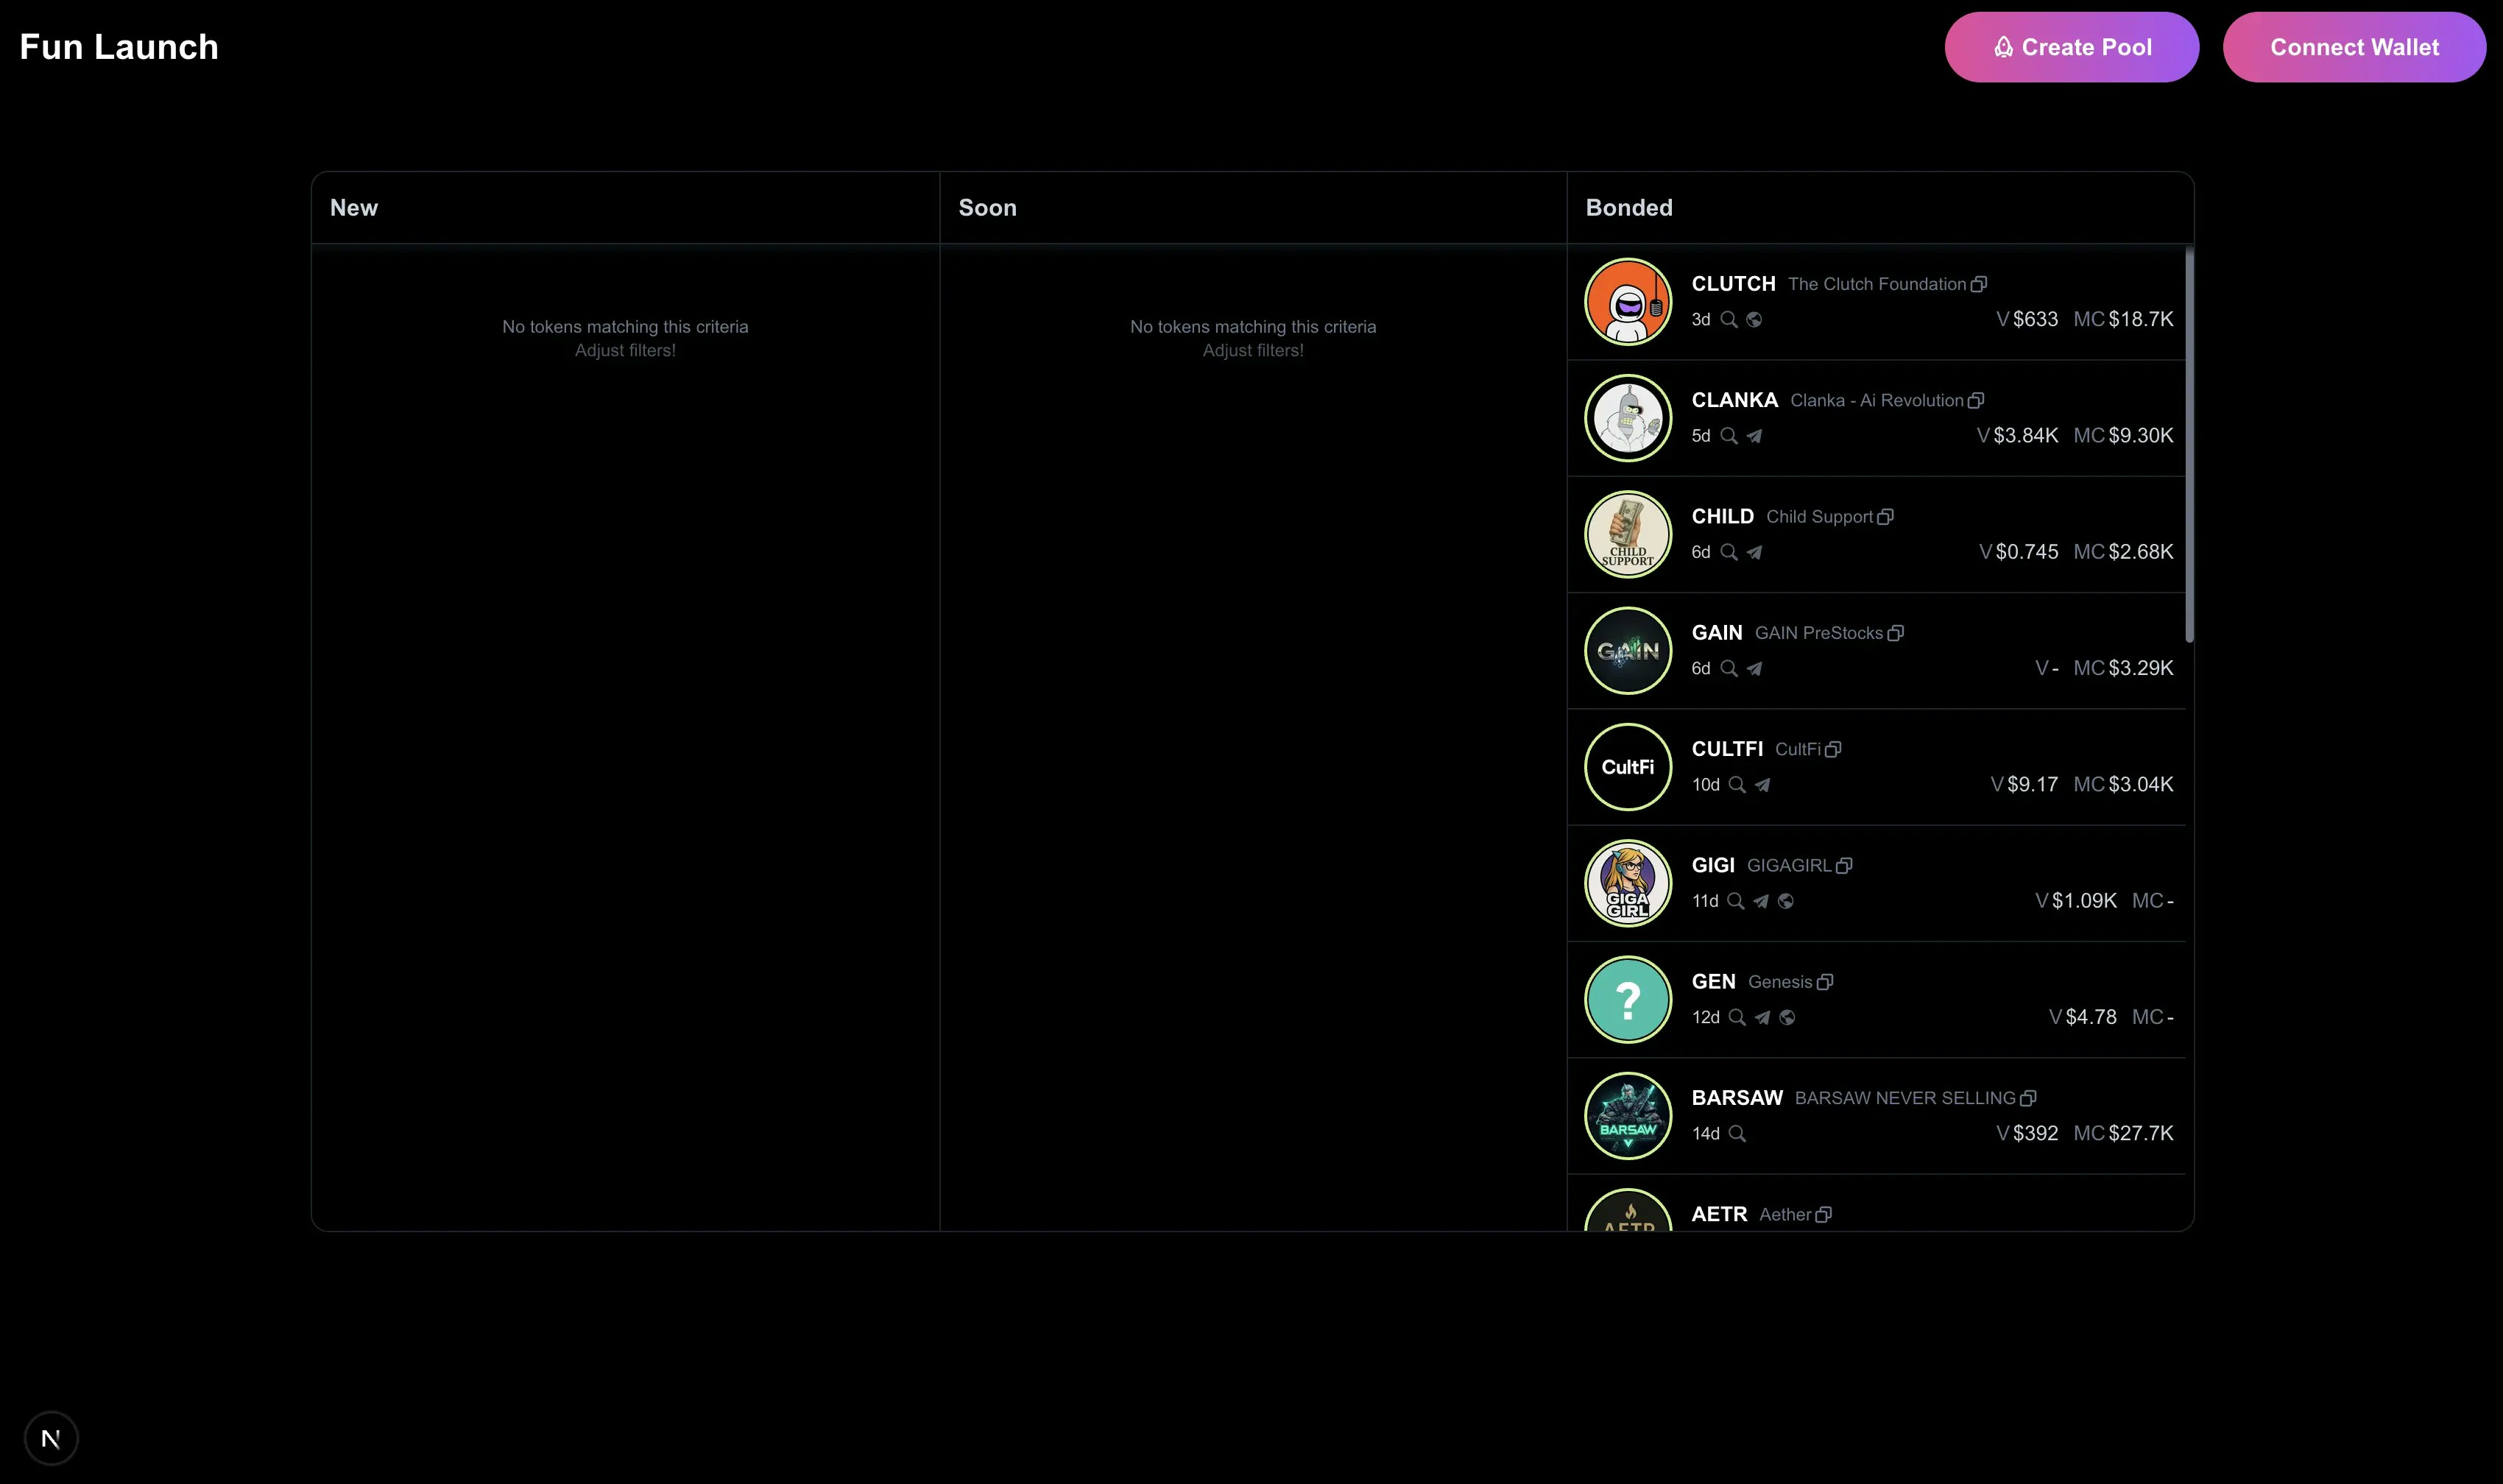
Built-in Trading Interface
Ready-to-use trading interface with all the features you need for users to trade your tokens without leaving the platform. Comprises of with Trading View’s charts and open source Jupiter APIs that includes volume analysis and trading marks.
Tech Stack
- Next.js
- TypeScript
- Tailwind CSS
- Solana Web3.js
- Dynamic Bonding Curve SDK
- Cloudflare R2 for storage
Prerequisites
- Node.js >= 18.0.0
- pnpm >= 10.0.0
Setup
Clone and Setup Meteora Invent
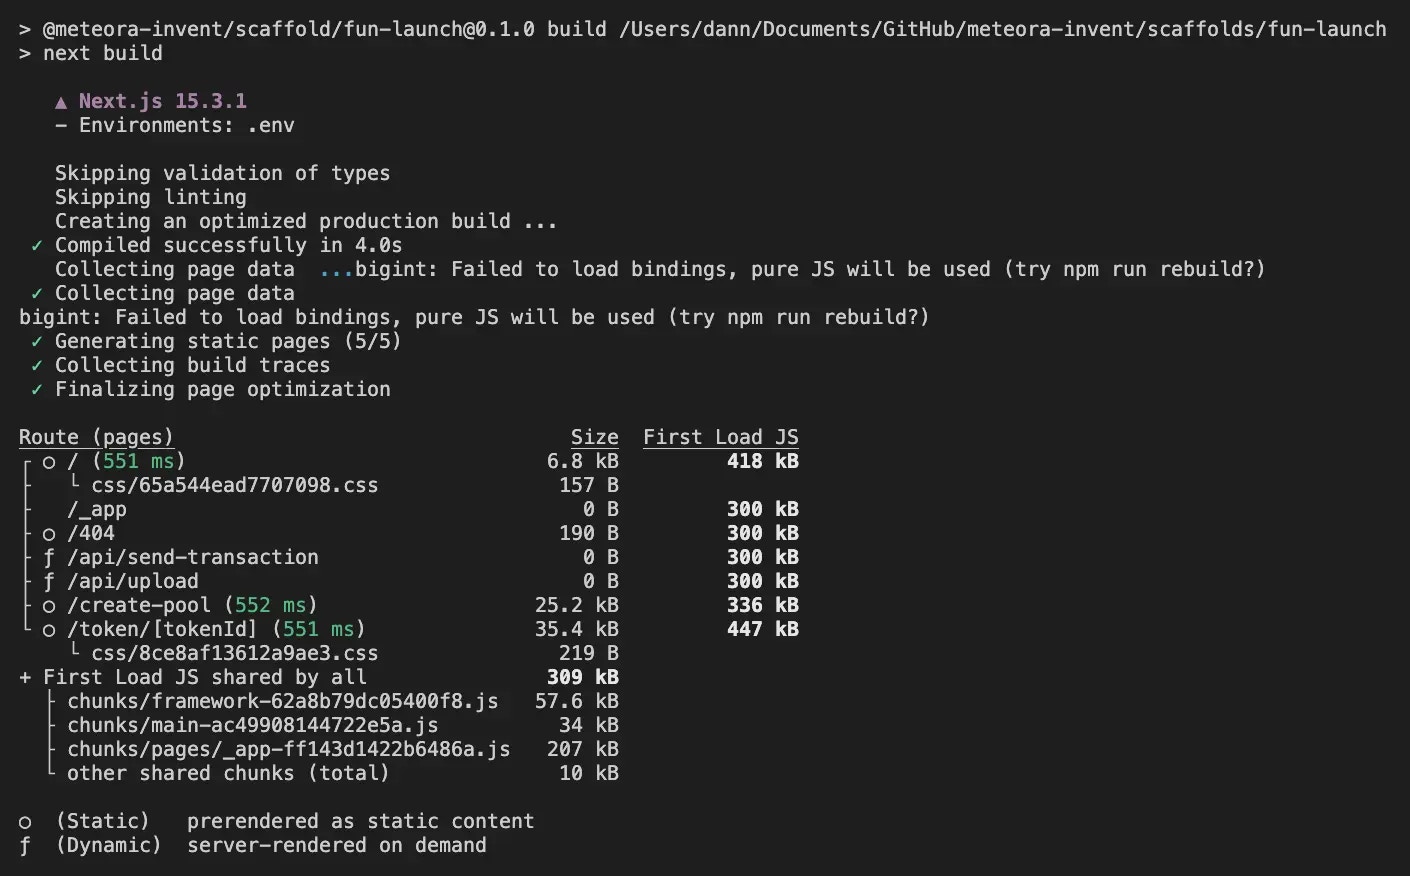
Meteora Invent is a toolkit consisting of everything you need to invent innovative token launches on Meteora. Run the following command in your terminal to get started.Once you’ve cloned the repository, you’ll have a new project directory with a meteora-invent folder. Run the following to install pnpm and the project dependencies.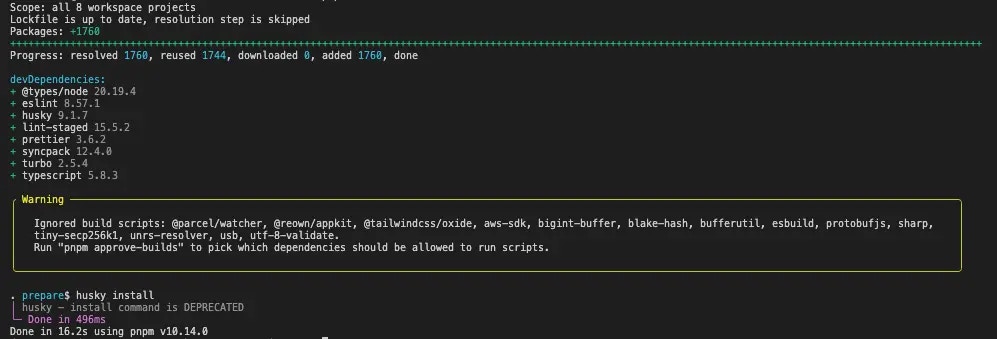
Terminal
Terminal
Setup Environment Variables
Copy the
.env.example file to .env and configure the environment variables.